Blog Layout

Nallely • June 6, 2020
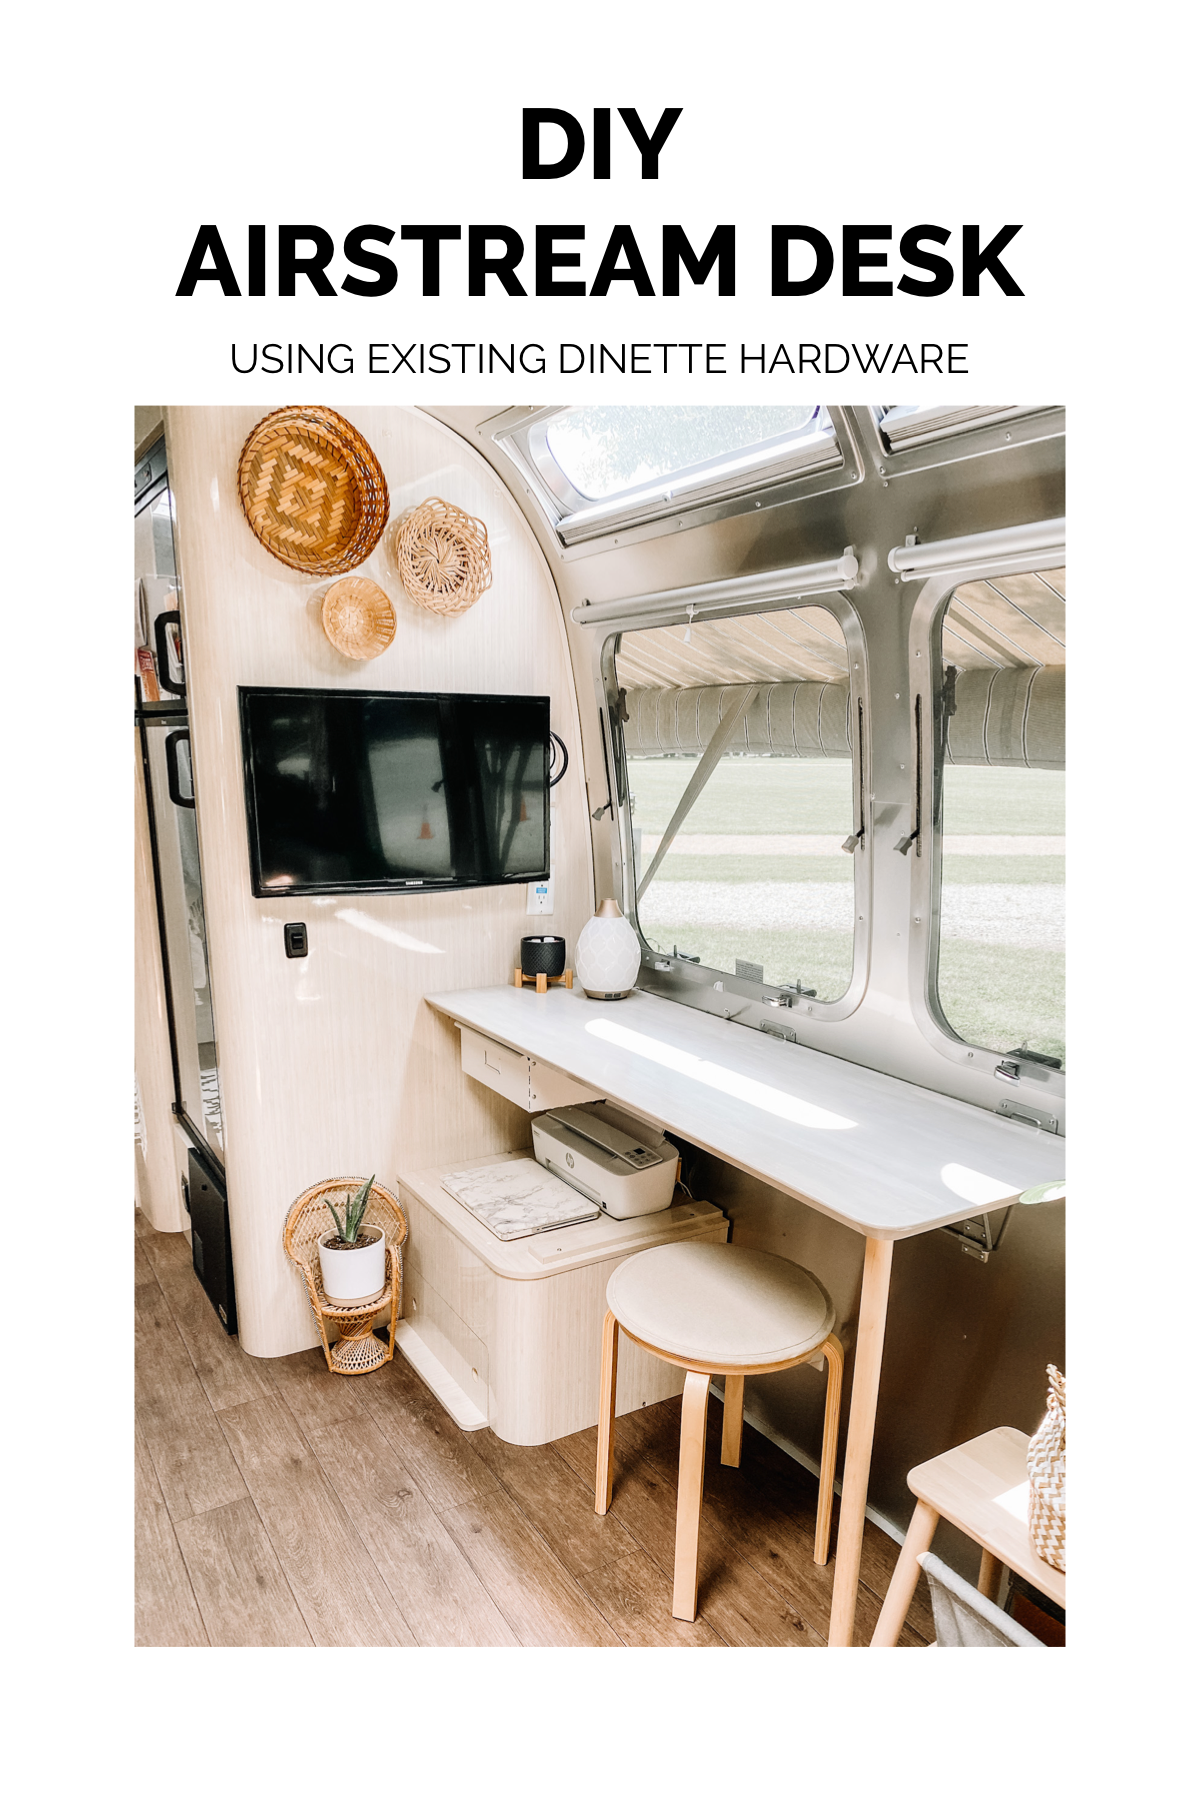
DIY Airstream Desk

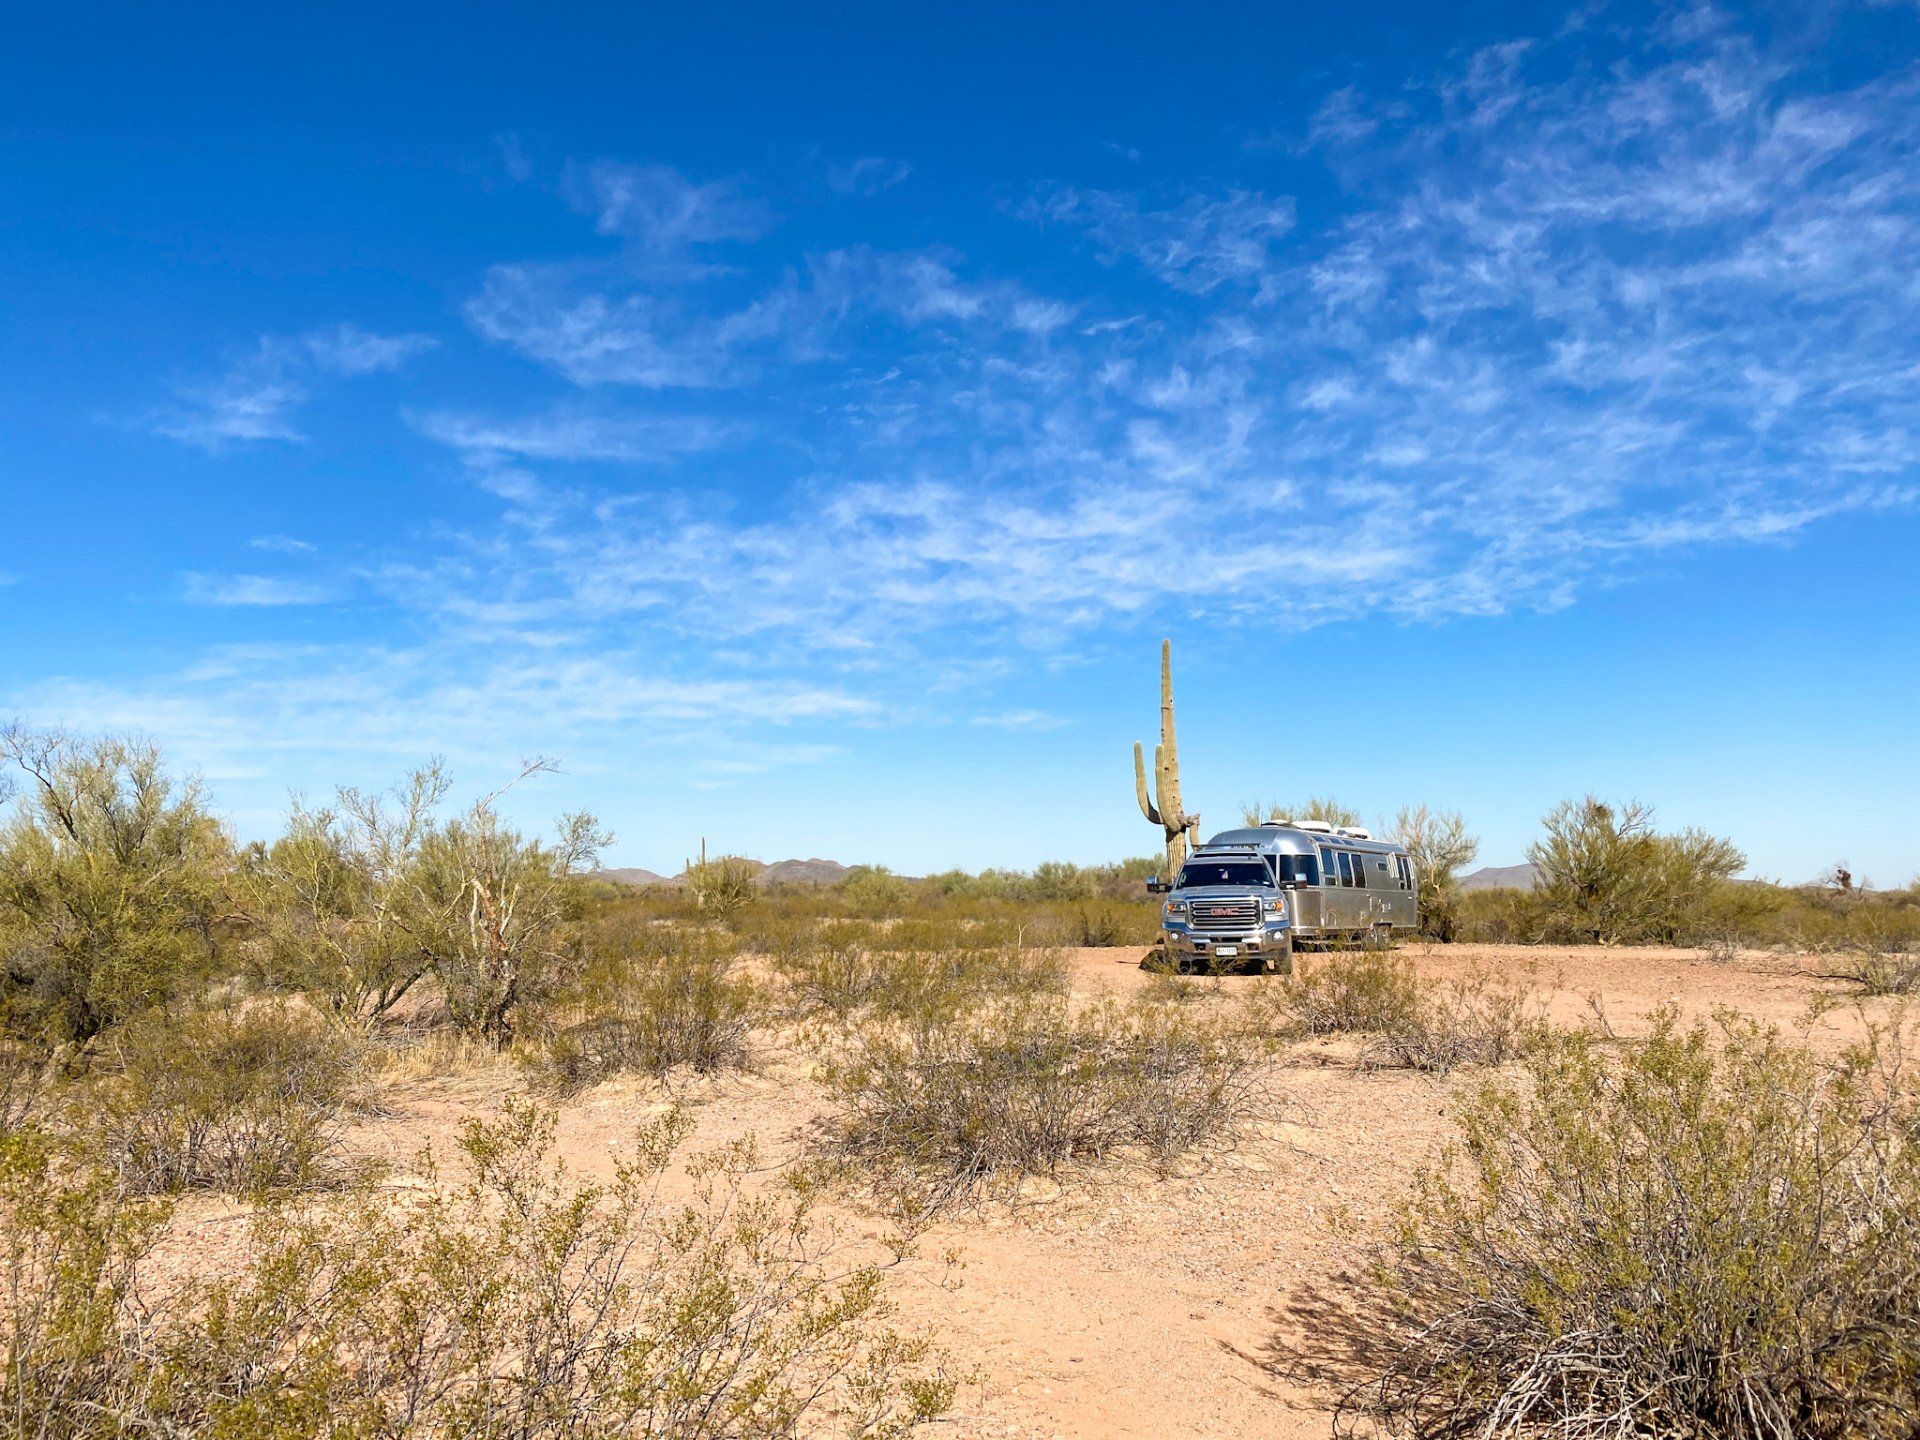
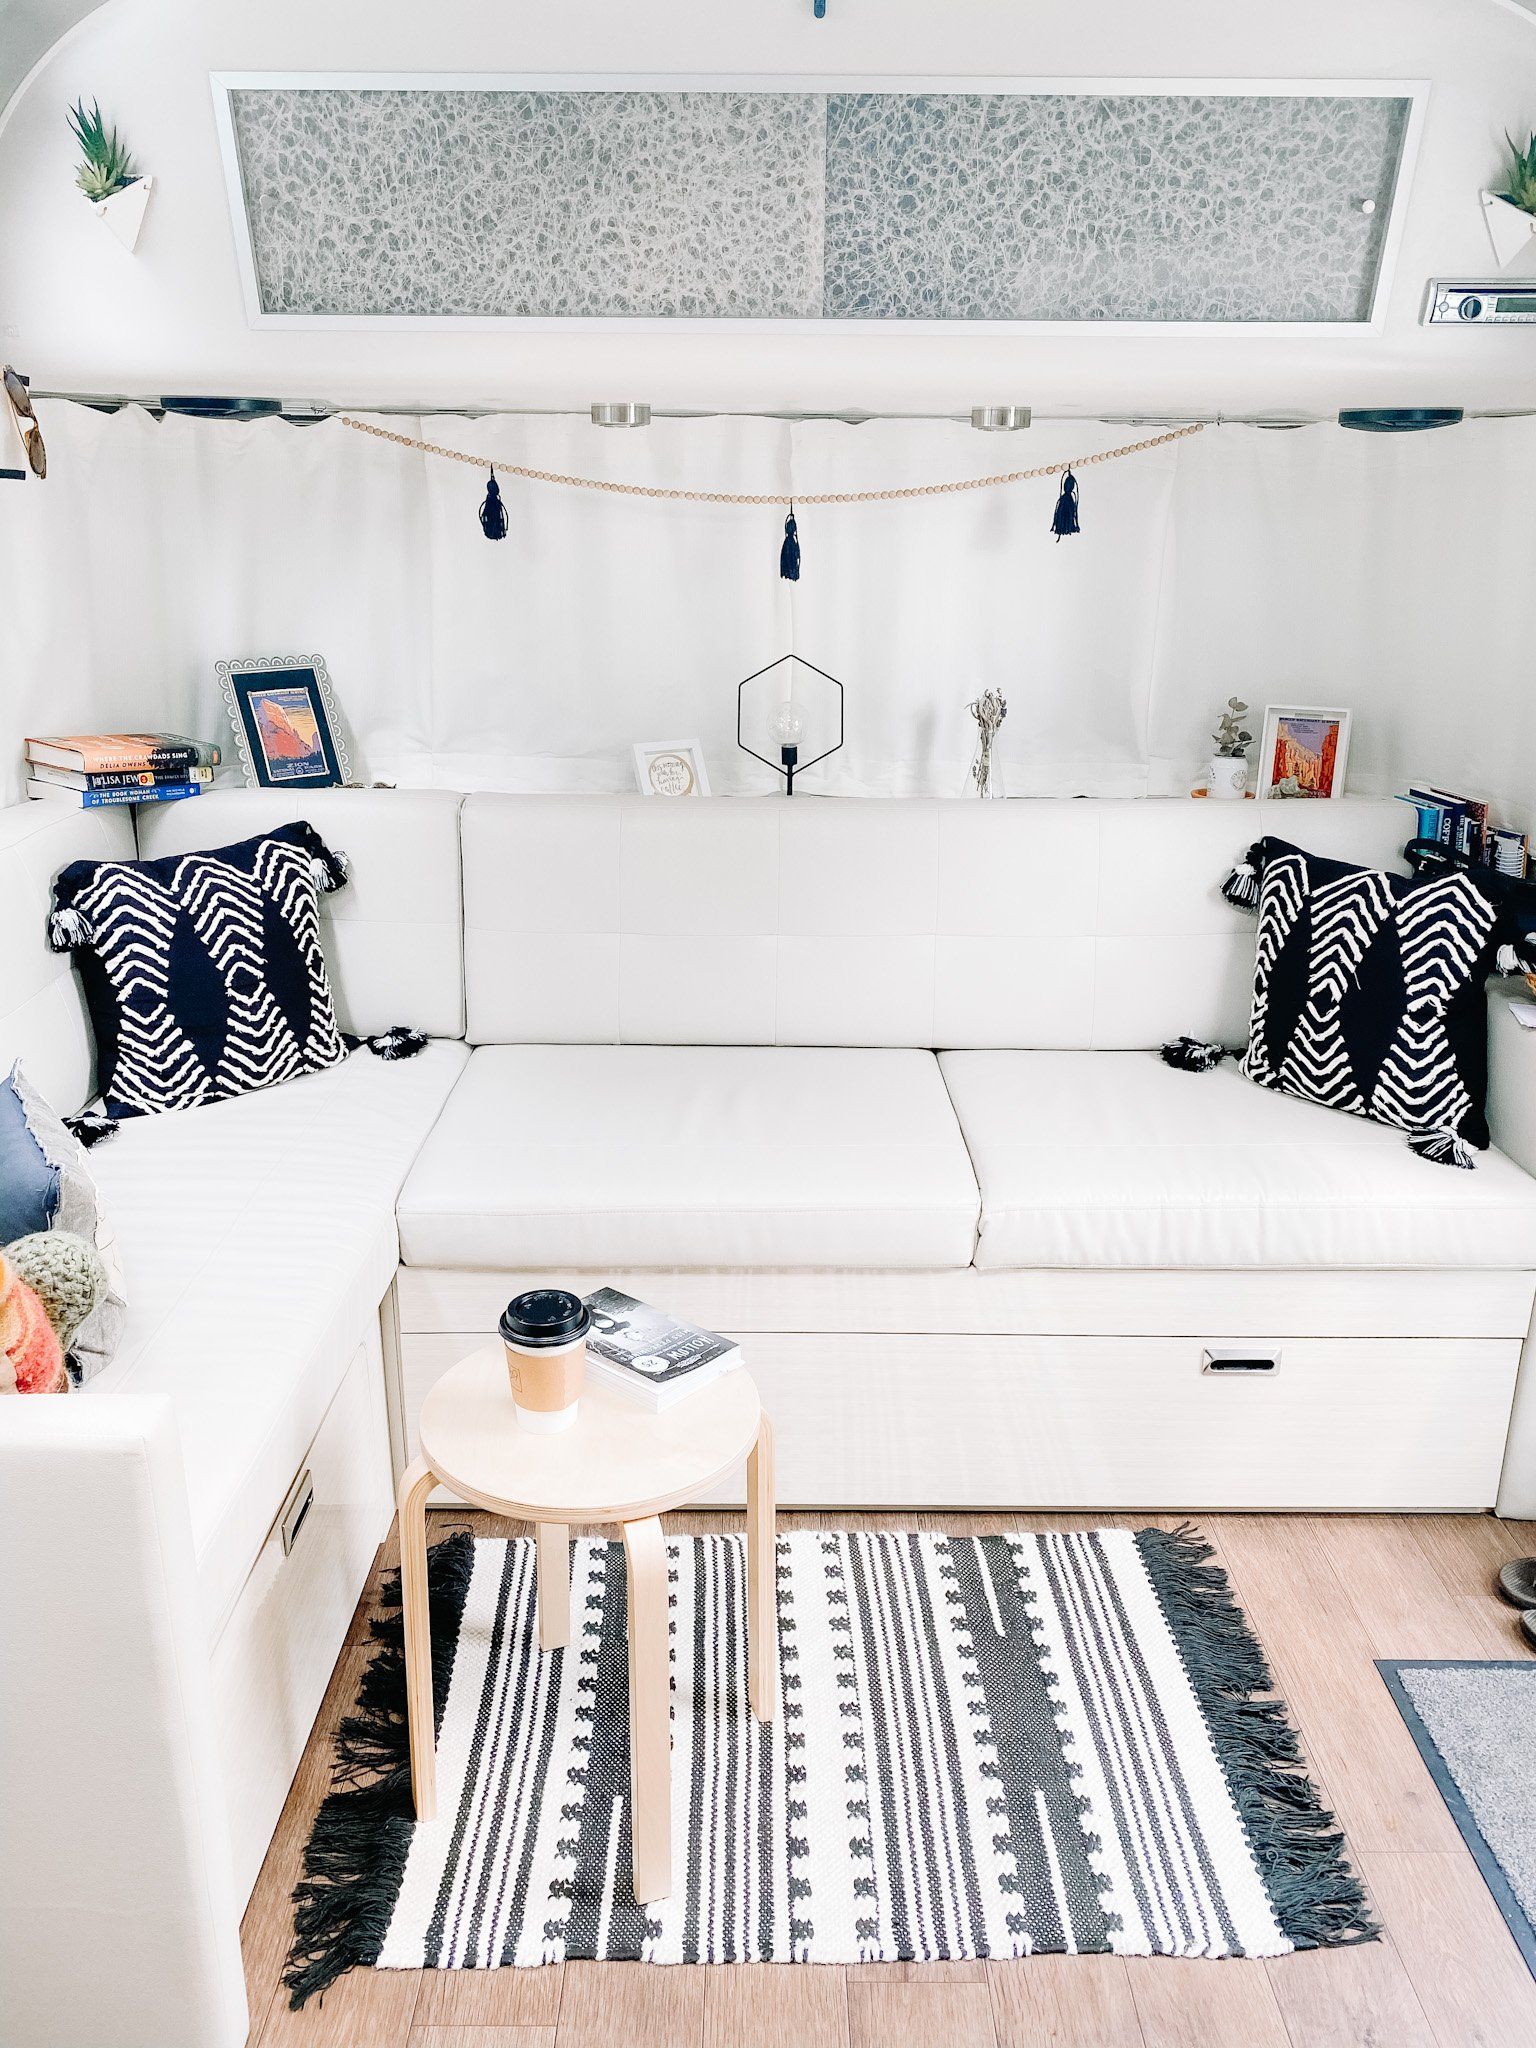
Anyone else agree that existing RV dinettes are just too bulky? Well, for us it was! We understand that they are great for most people, but for full timers it is a lot of wasted space! We wanted to utilize the space to our advantage and we knew putting in a desk would do just that!

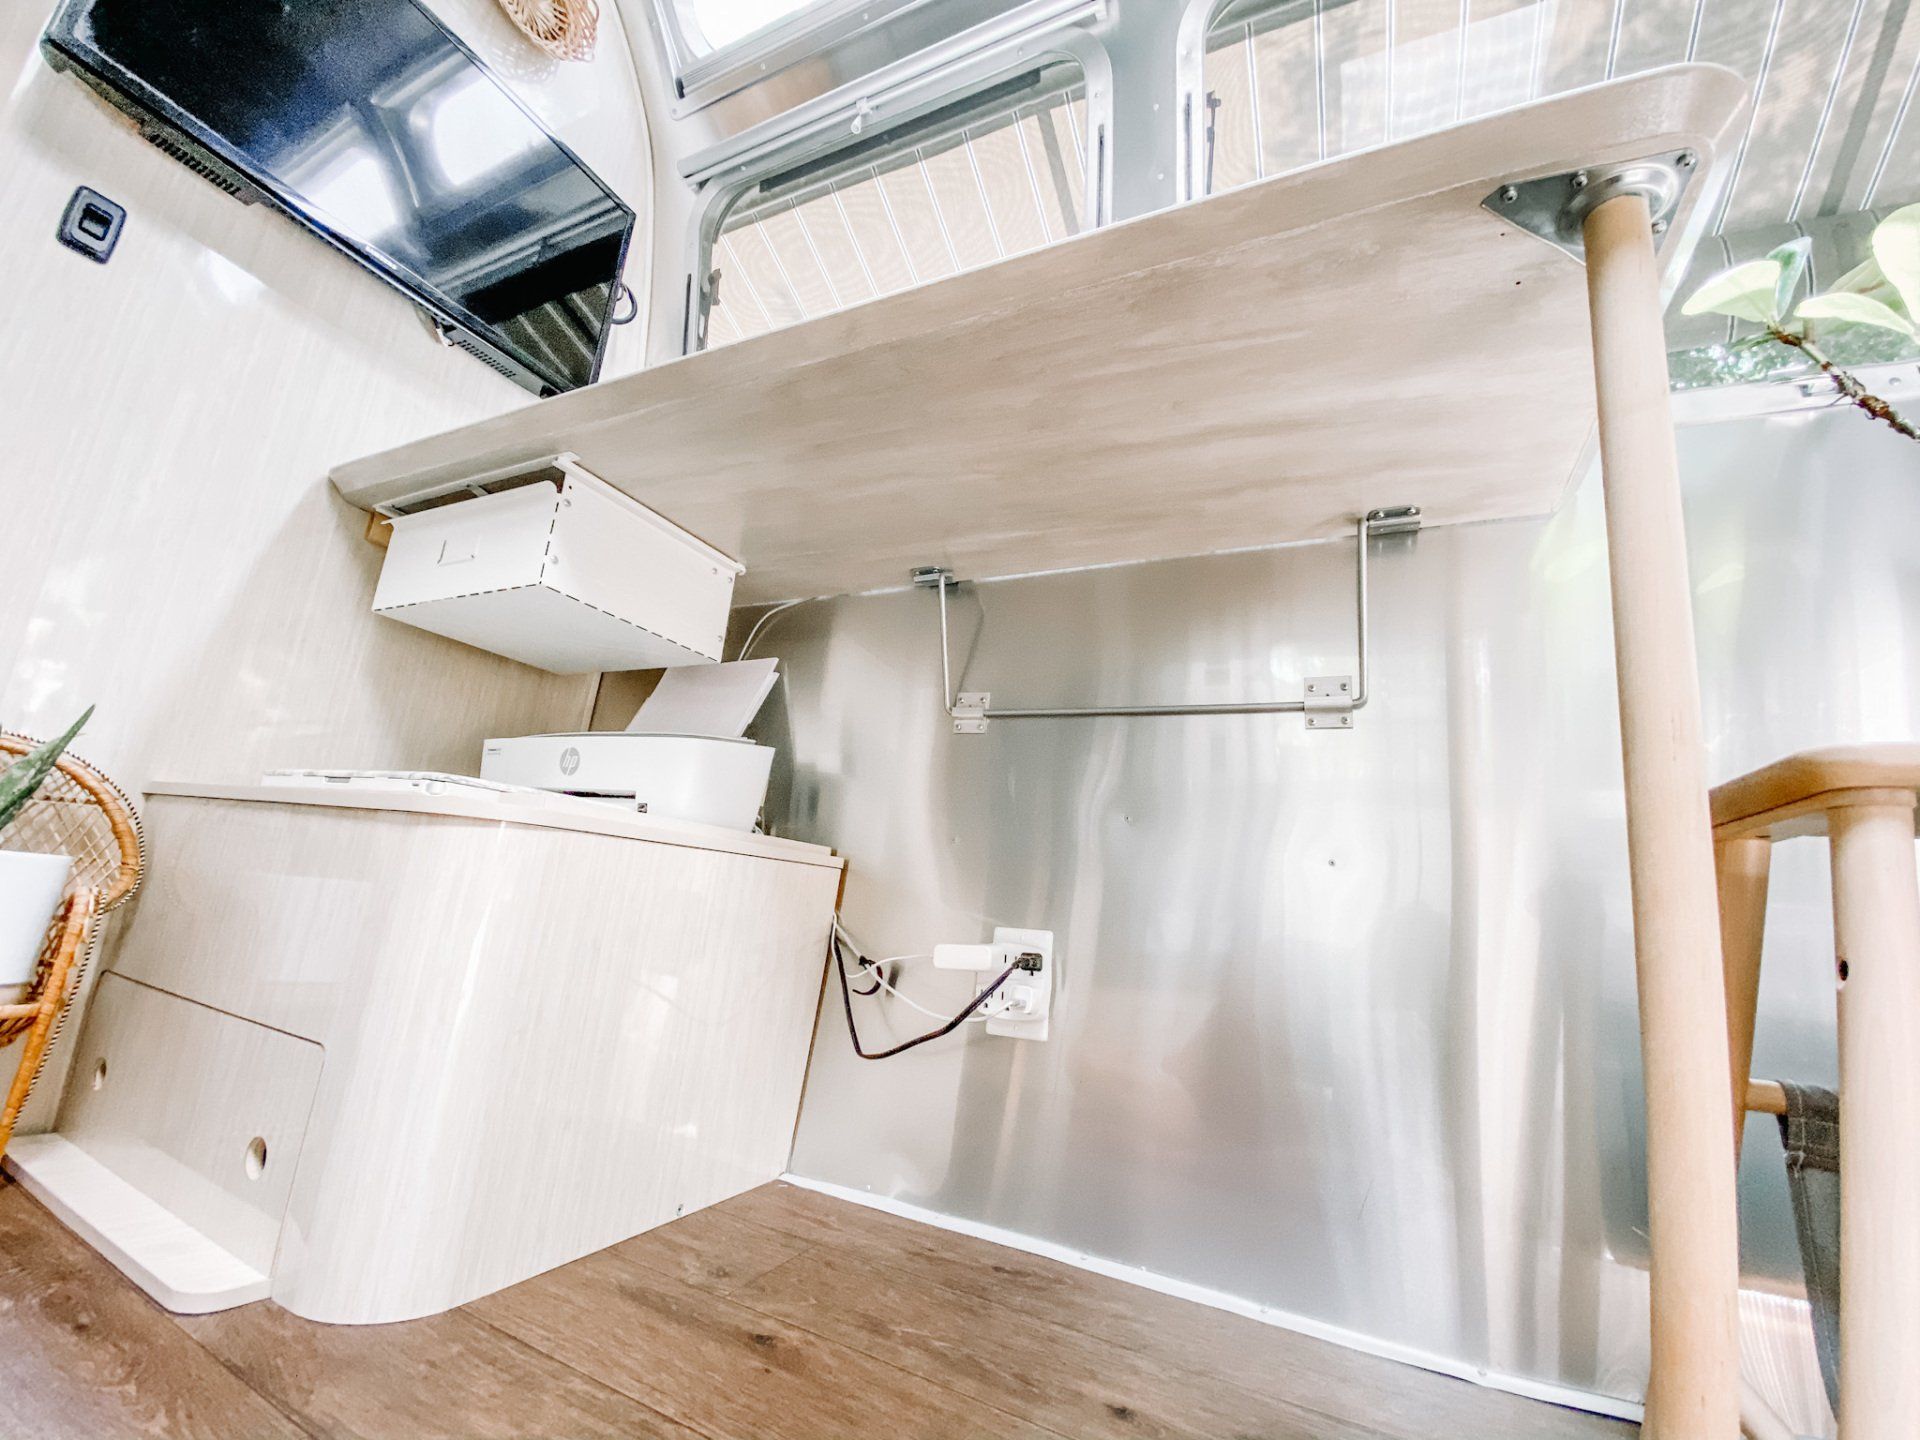
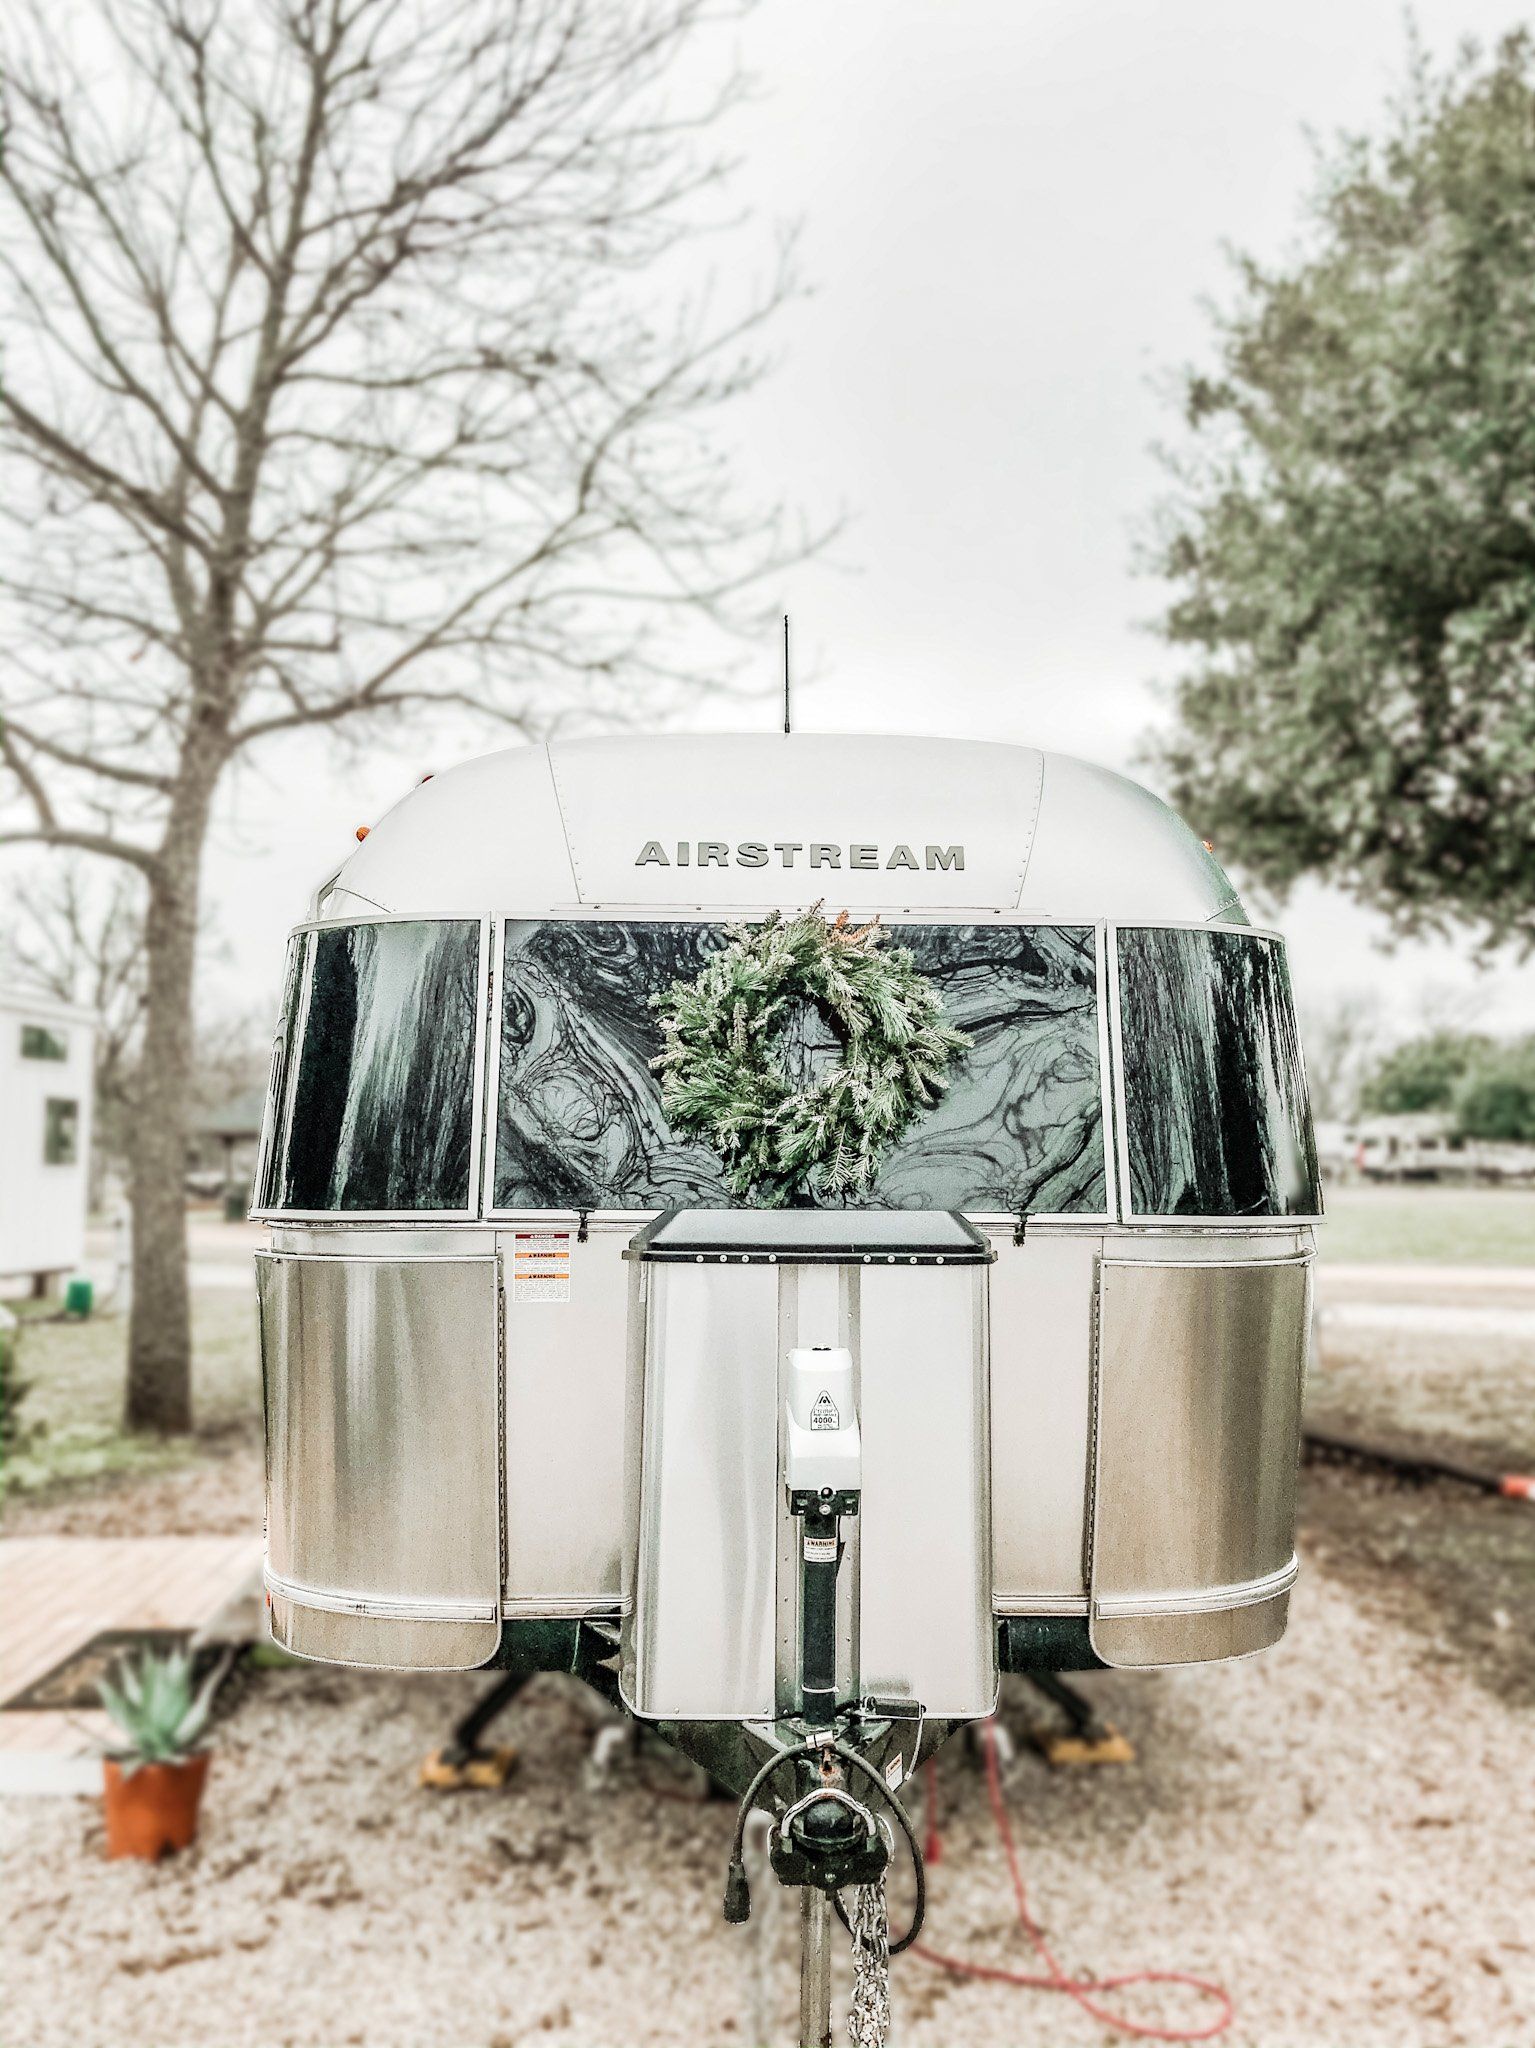
We knew we wanted a desk to replace our existing dinette but we didn't want to drill any holes into our precious Airstream aluminum walls. We went back and forth on just putting in a small foldable IKEA table, but then worried about how to secure it when we traveled. We looked at hundreds of pictures online of other RV full timers desk and gathered some inspiration before deciding what would fit our space!

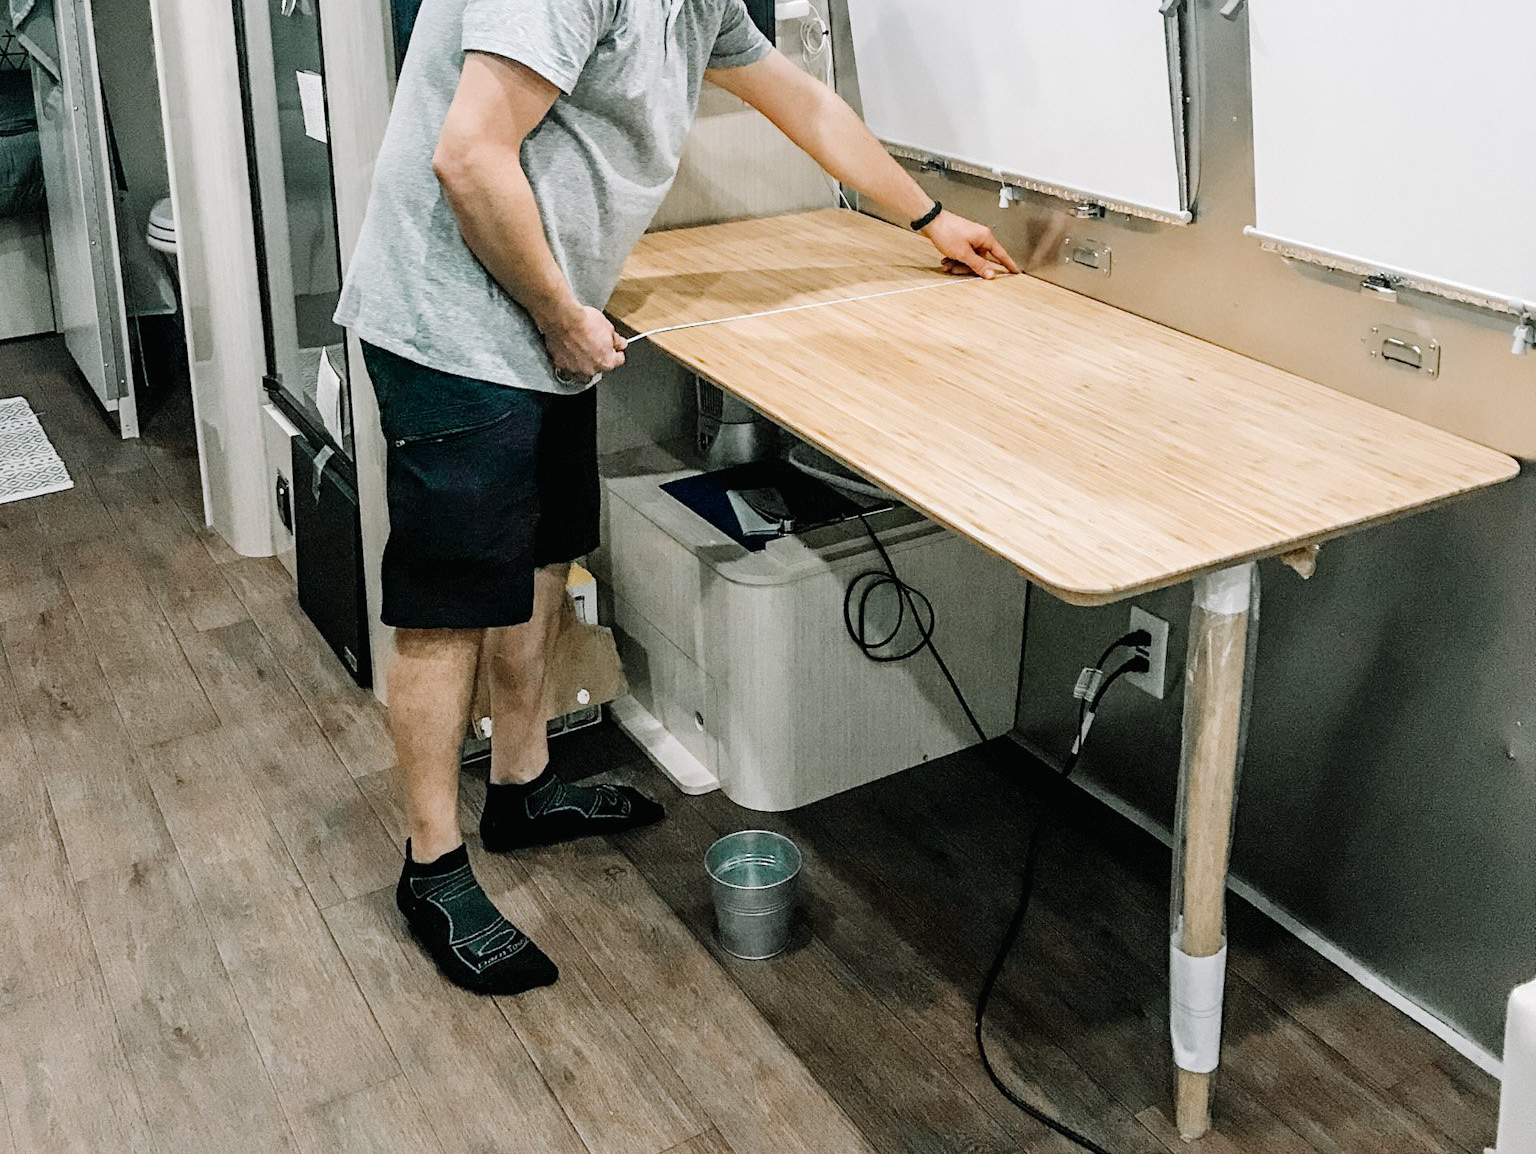
Tanner figured out that we could just use the existing dinette hardware to secure a tabletop so that we didn't have to worry about drilling new holes! So off we went to IKEA to find the perfect tabletop!

airstream desk, rv desk, rv renovation, airstream renovation, rv workspace, digital nomad, ikea
Before reading on, below is a before and after picture of the space! You can see how much more open the space looks after removing the dinette. We love all the floor space we gained by removing the dinette and adding a long thin desk. It makes the Airstream feel bigger and it is a much better use of space for us.
MATERIALS NEEDED


STEP 1


At IKEA we chose the bamboo HILVER tabletop . We liked that it was fairly inexpensive and lightweight!  We wanted a thin, long desk so we ended up cutting the bamboo table top with a table saw to the width of 18 inches.

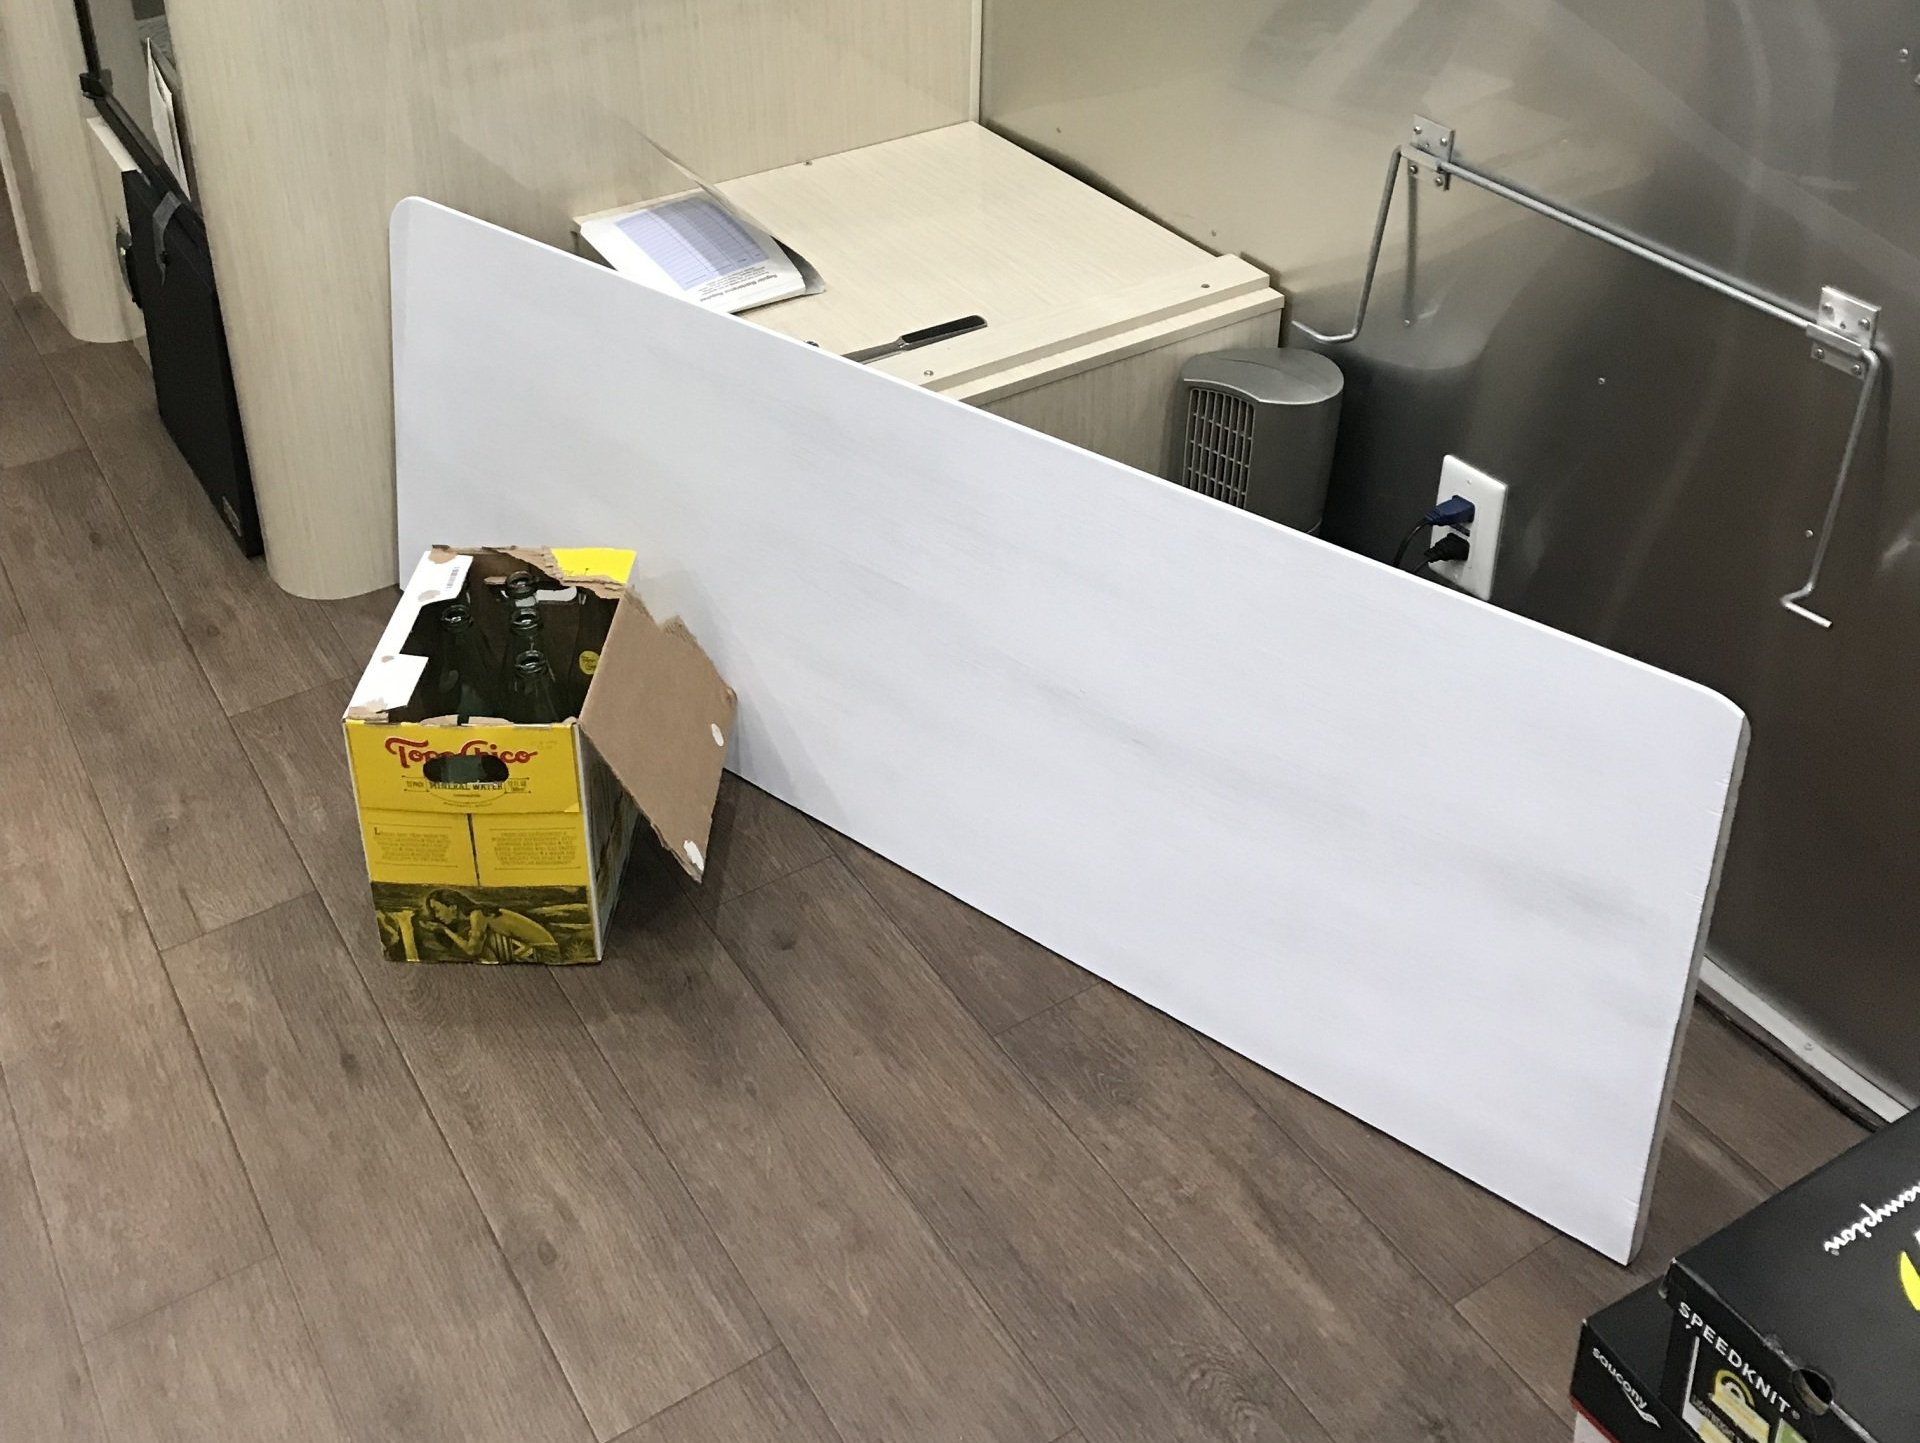
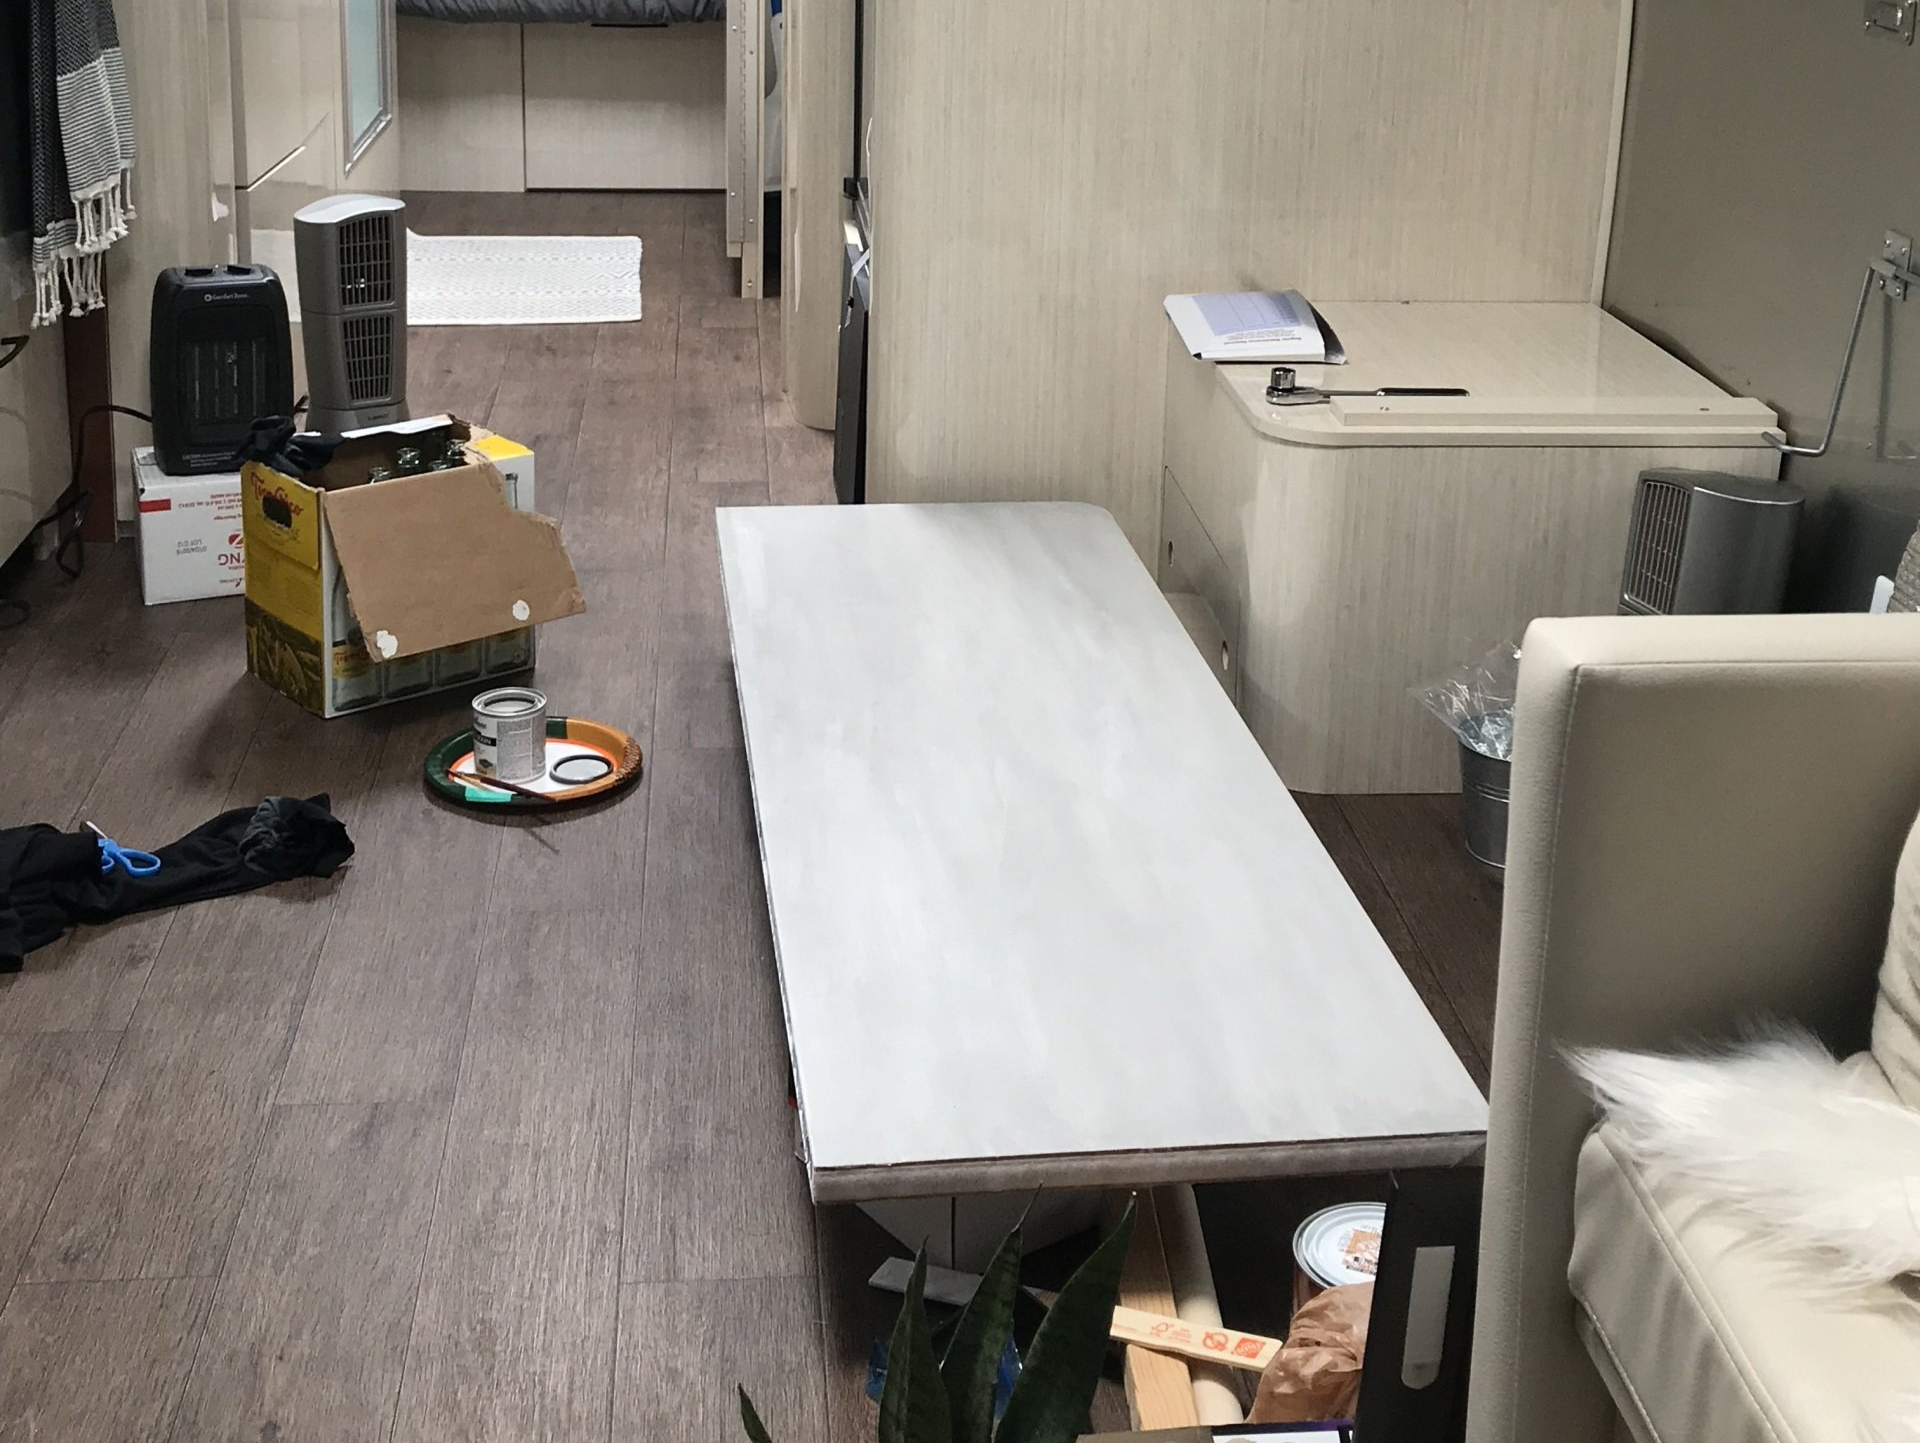
A little FYI: the reason that the bamboo tabletop is super lightweight is because it is NOT solid bamboo! It has a cardboard core. This didn't bother us because the cut side was going to be up against the Airstream wall and would not be seen. We also cut about 1 inch off the end that would be up against the wall so that it would fit flush because the tabletop is curved. We added a Velcro strip to the cut end to prevent scratches on the wall.

airstream desk, rv desk, rv renovation, airstream renovation, rv workspace, digital nomad, ikea, HILVER tabletop
(The leg you see above was a HILVER leg we purchased from IKEA but it was not tall enough!)
 

STEP 2

I really liked the bamboo look but after putting it inside the Airstream it was just a little too yellow for my liking. I decided to paint it white with some Kilz we had on hand and after finishing it, it was too white! When it comes to small spaces, everything has to look just right or else it looks WAY out of place. I wasn't sure what to do and I figured I'd have to sand all the paint off and start over.
Above is the tabletop painted white with Killz.


STEP 3

After looking for ideas on what to do with the stark white tabletop, I found a wood stain that would give a greyish white look. I stained the white painted tabletop with Varathane Sunbleached wood stain. The result was just what I was looking for! It gave the tabletop just enough color variation to blend well with the Airstream. 
In the picture above you can also see the Velcro strip we added to the end of the tabletop that would be up against the wall of the tv. We also added a layer of clear coat to protect the top at this step as well.


STEP 4

Attaching the tabletop to the existing dinette hardware was simple. We just screwed the existing brackets to the bottom of the tabletop. You can see a more detailed look of what we mean down below. At this point we also attached the leg. We used a 1 1/2 wooden dowel we bought at Hobby Lobby. We measured it to the correct height, cut it and used this table leg hardware to attach it to the bottom of the tabletop.


STEP 5

Since we removed our dinette we did end up losing much needed storage so we had to find a way to replace some of it. We headed to IKEA again and found this IVAR drawer. It is lightweight, inexpensive and really easy to put together! We screwed it underneath the tabletop and love the desk storage it gives us.
In the picture above you can also see a wooden piece on the left attached to the wall. We attached that piece of wood to the wall with command strips and it serves to give that side of the table more stability.


Thats all!

We love this change we made to the Airstream! It was a simple project but it has given us more walking space and a better workspace. We also love that we didn't have to drill any holes or make any other permanent changes to our Airstream. So far we haven't had any issues with the desk when traveling and it has held up great! I hope you enjoyed this tutorial and that you get some inspiration for your RV space!
November 25, 2022
We don't subscribe to maximalism and fast fashion but we do appreciate a good deal when available. We are on a fixed budget and love being able to get things that we need for the RV on a discount. These below are some good quality finds that you can snag for yourself today.
15 RV Essentials for the RV Beginner. Photo of an Airstream RV travel trailer boondocking
By Nallely Bean November 23, 2021
Here is a list of 15 RV essentials you need to start RVing. We have lived in our Airstream for 5 years and remember well how overwhelming it was when we first started out RVing. We hope this list helps you start on your journey!
By Nallely Bean November 20, 2021
Fishing in National Parks
Guide to Mesa Verde National Park cliff dwellings located in Southwestern Colorado
By Nallely Bean August 10, 2021
2 Day Guide to Mesa Verde National Park. Heres everything you need to know to get the most out of your visit to Mesa Verde National Park. This park not only boats beautiful landscapes but incredible history of the Ancestral Pueblo people.
Airstream decorated for Christmas with holiday wreath
December 2, 2020
Minimalist Gift Guide for RVers 15 ideas to give your RVer this holiday season
Airstream travel trailer interior decor
By Nallely June 1, 2020
Airstream Decor, decorating your RV frugally.
Show More
Share by: